What you get with the 360 camera is a convenient bag to carry it in, USB cable for charging the internal battery, a ring stand so the camera can be stood on it’s base for remote recording (so you don’t have to hold it) and a QR code for grabbing the app.
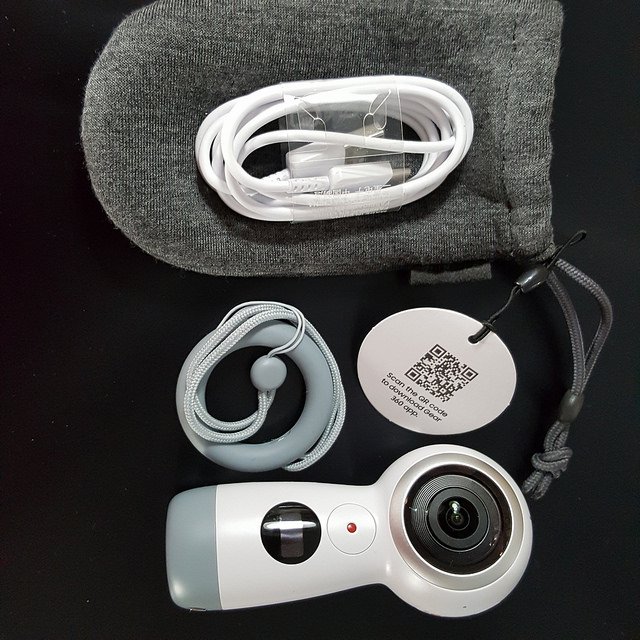
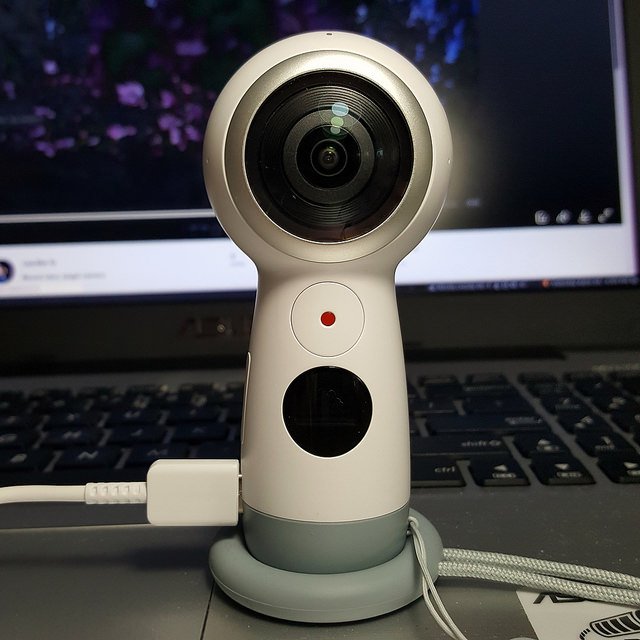
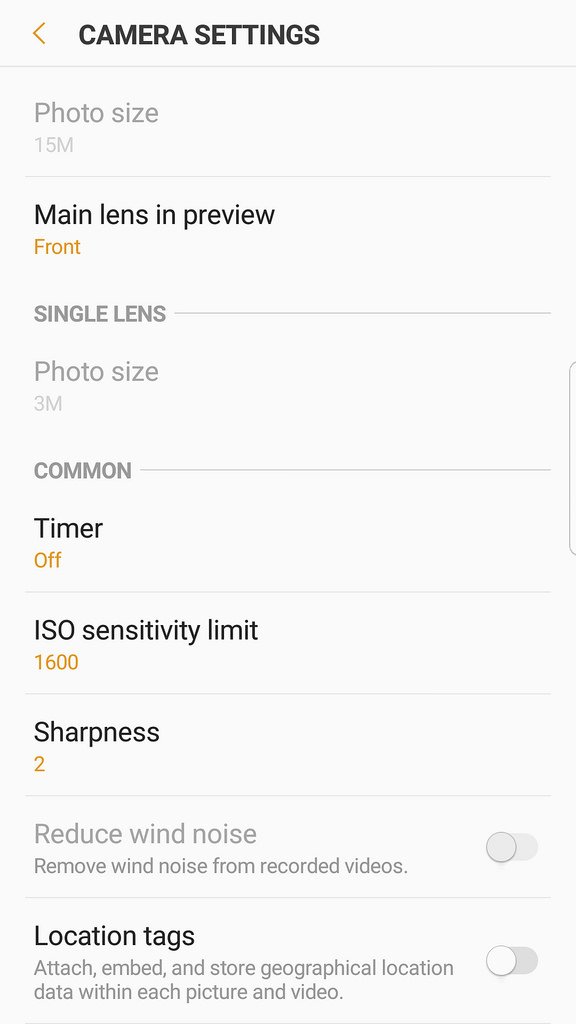
This is the Gear 360 on it’s stable ring. The red button takes a photo or starts a video. Be careful while holding the phone that button is VERY sensitive. You could take a photo by accident! The window below shows info about the menu but it’s easier to see all that using the phone app. It’s hard to see in bright light so it’s better to use the phone app to change settings.

The left side of the Gear 360 has a Menu button (top) and a power button (bottom). The red light means it’s plugged in and charging. Once it’s fuly charged the light turns blue. The other side of the 360 camera has the USB port and an SD card slot.
Once the app is installed on your phone – which works best with a Samsung phone, although others can be used as long as they have Android OS 5, pair the phone with the camera. Turn on the camera to turn it’s Bluetooth ON. This is a painless operation as even if your phone’s Bluetooth isn’t turned on, the app asks you if you wish your Bluetooth turned on, does it and pairs almost automatically.
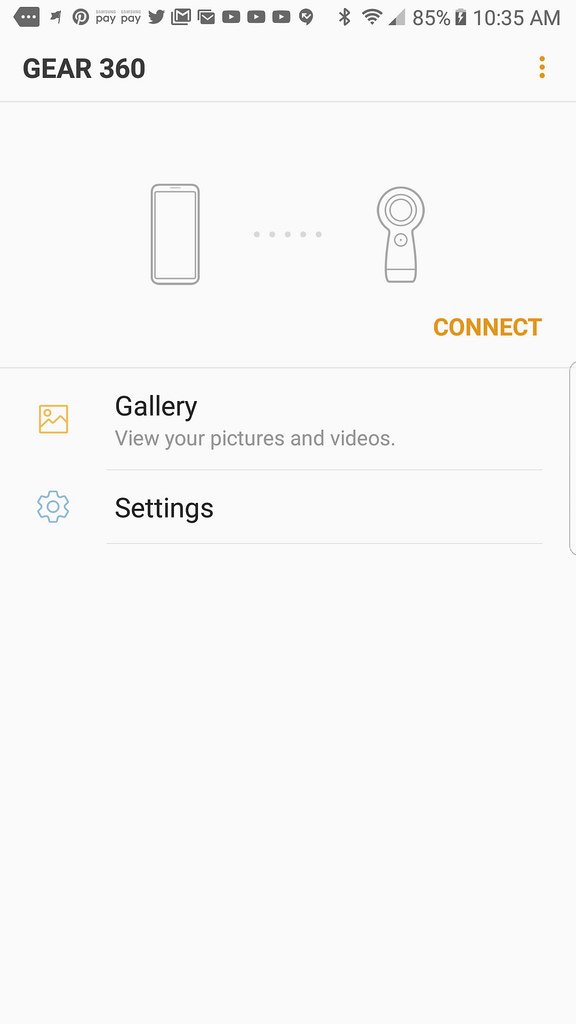
Once paired anytime you turn the app on, just tap “Connect” and your phone will find the camera immediately (as long as it’s ON, of course).
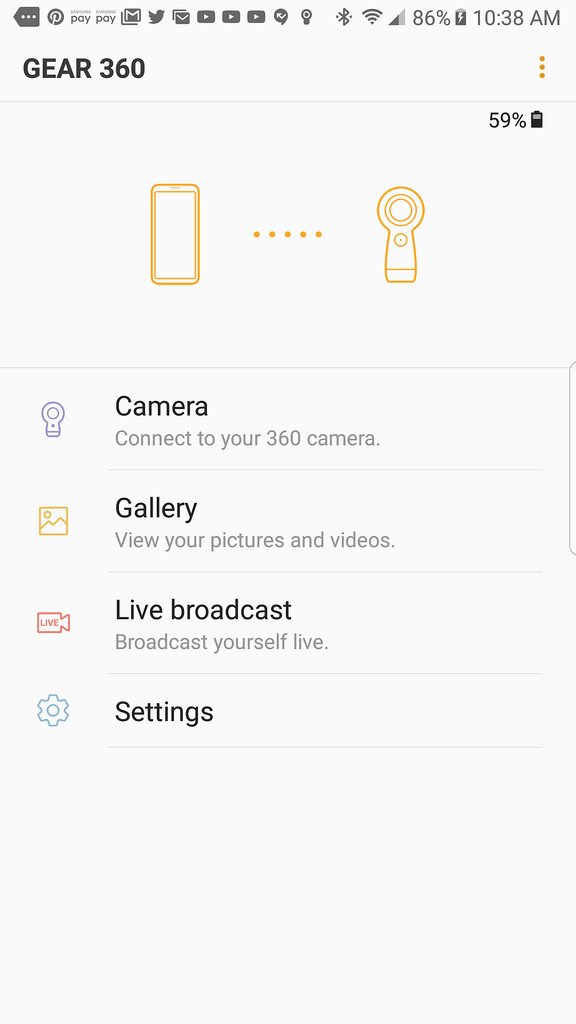
This is what you see once you are connected to the camera. Here you choose what you wish to do next. If you want to take pictures, tap “camera’, if you wish to see what you have already shoot, tap, “gallery” to view what is stored on the camera, or is you wish to start Live Broadcasting to Facebook,

Live Broadcasting to either Facebook, YouTube or Samsung VR site.
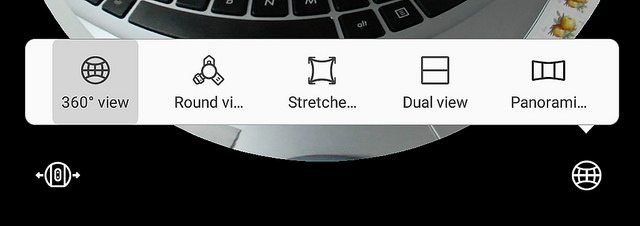
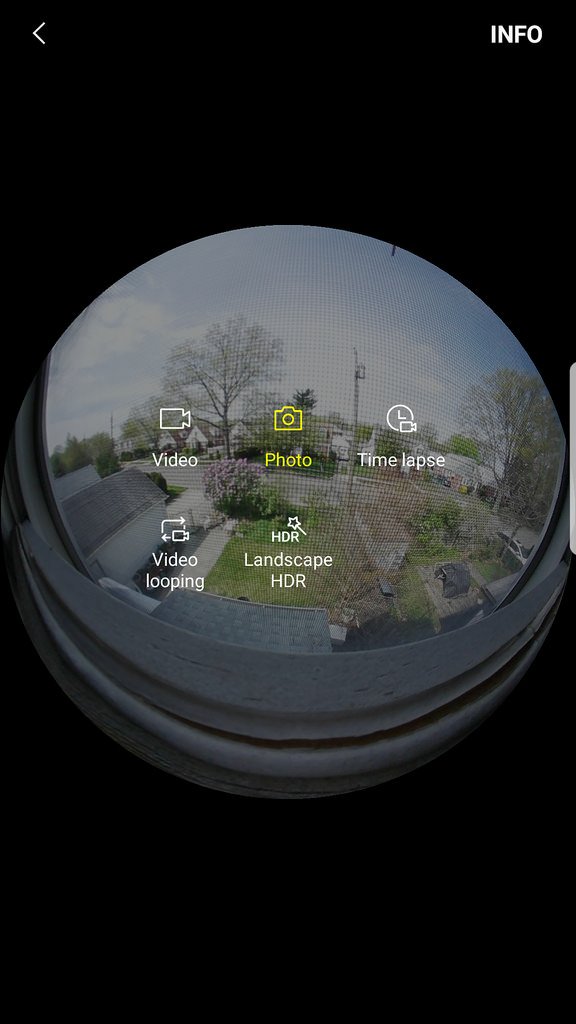
Here you choose which of the views you wish to use.
Here you can choose from “Dual View” – using both front and back cameras, or selecting just one of the cameras.
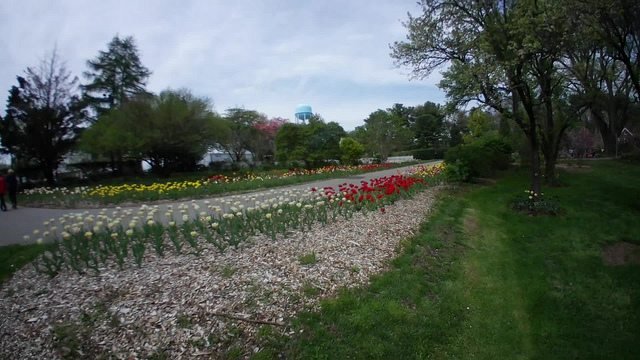
Panoramic single view front camera – video is here

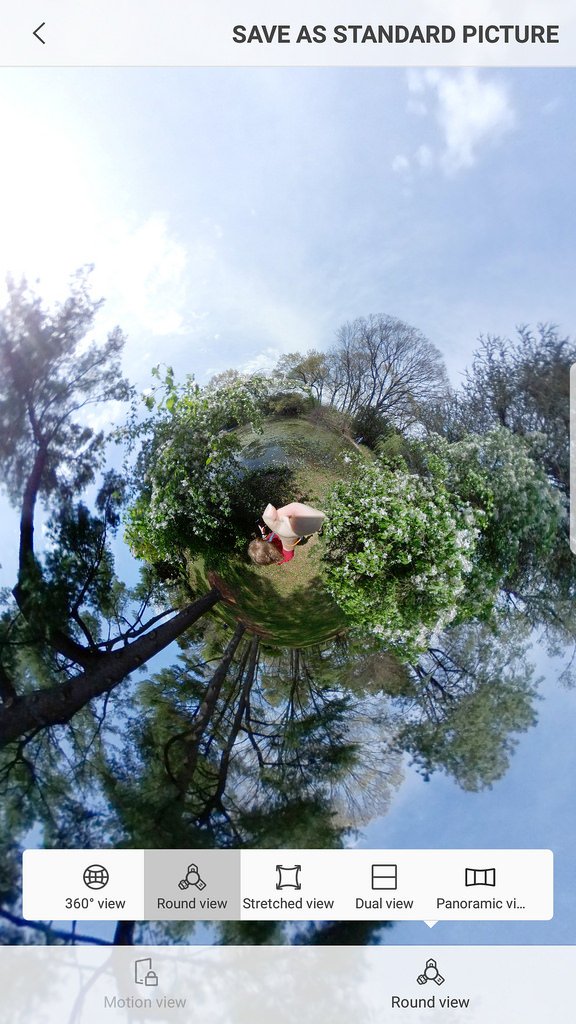
Round view, single camera – video found here
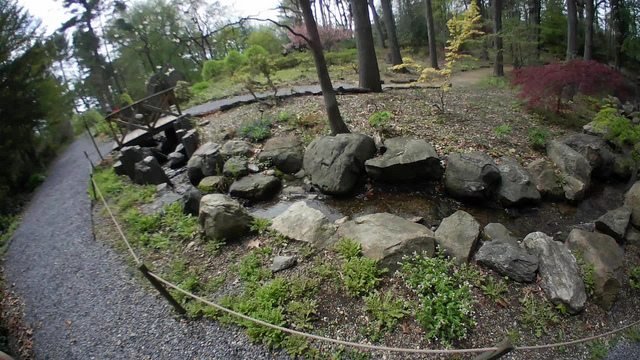
Panoramic front view – video found here
Time lapse for some crazy videos – video found here
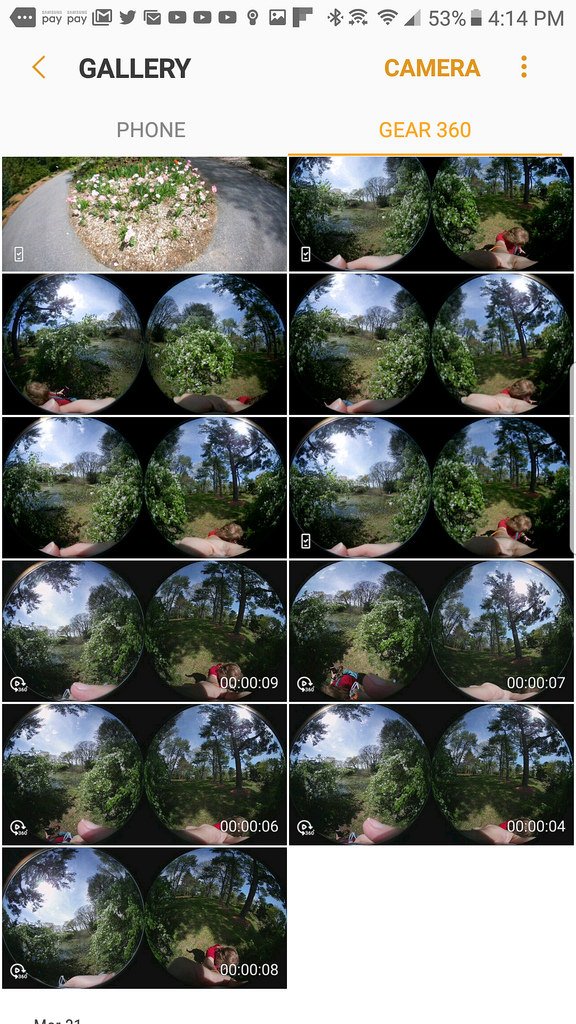
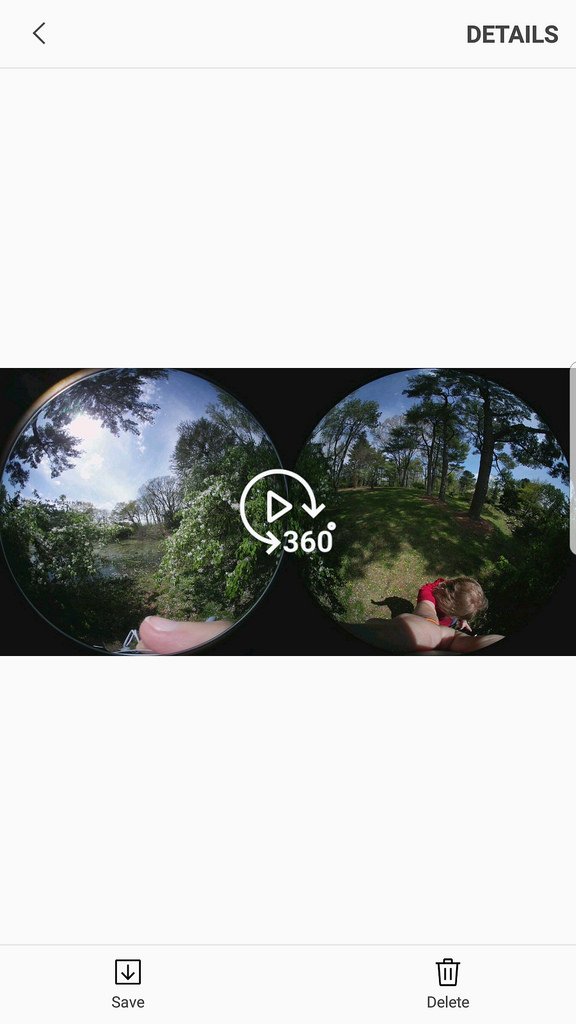
This is the Gallery in the app. Here you can review all the stills and videos your 360 camera has made. However, the software has to “create” the videos before you can save and share them.
pick an image and tap the middle “360” and wait while the software “stitches” the images together.
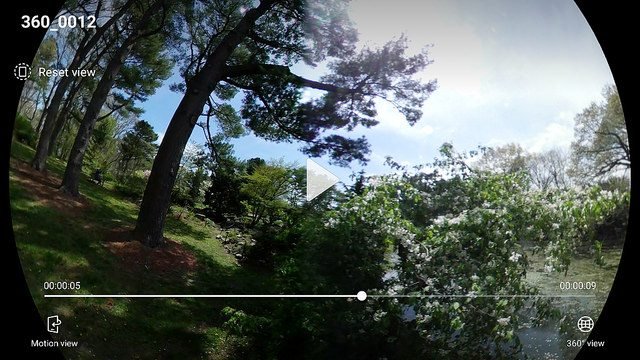
Once the software is done you can look at your image or video and decide to save it in 360 view or Motion View (the view moves his or her camera to see all sides).
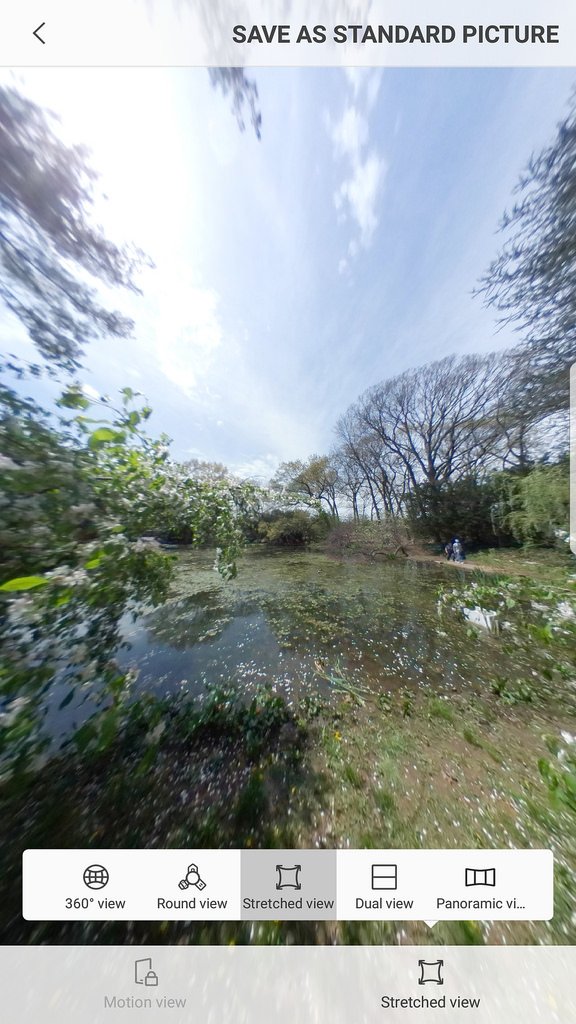
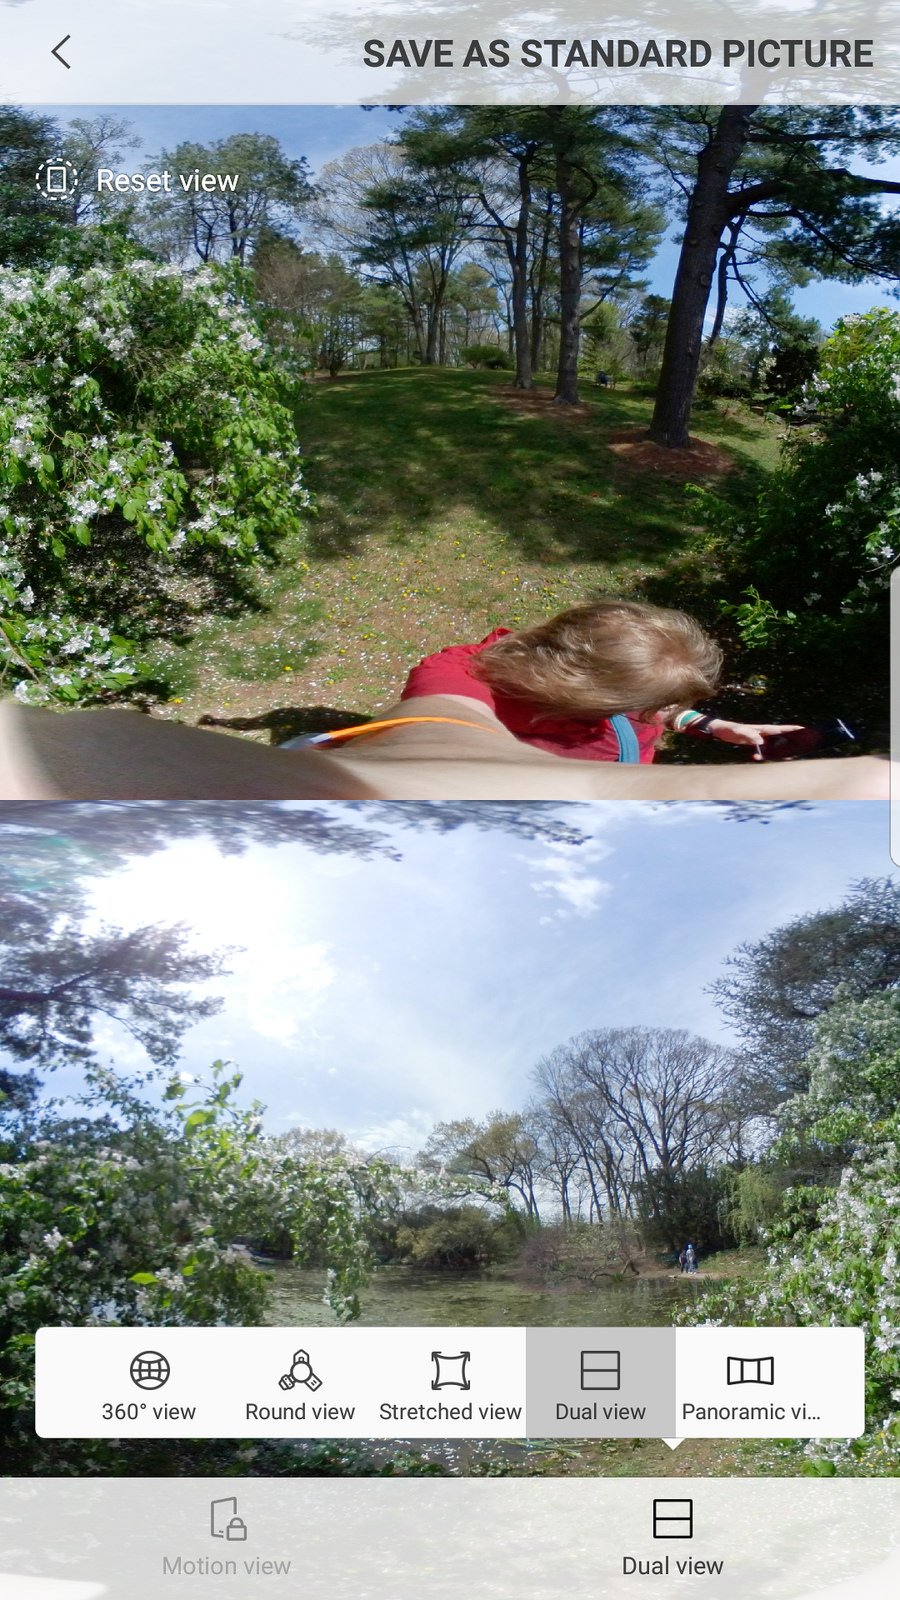
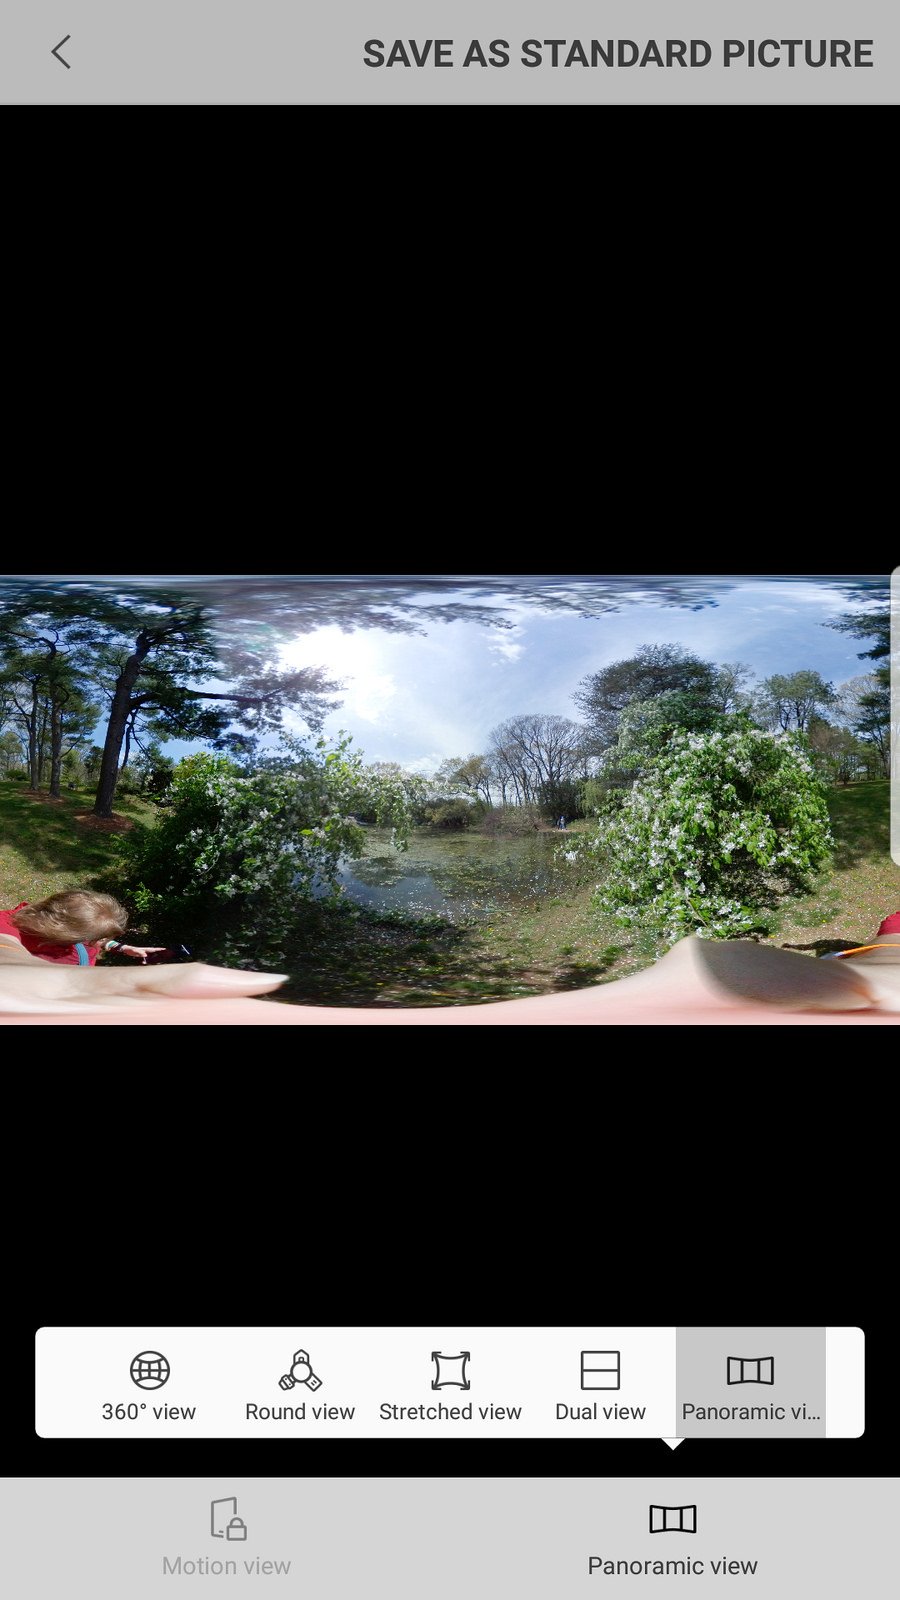
To give you an idea of what is happening I have taken one image I made and screen grabbed it in the different views.
The Gear 360 is very convenient to carry around for those moments where you need to show friends and family what you are doing. It’s great for large venues, concerts, parks and where there are crowds of people and you want to get EVERYONE in. Be your own reporter and do Man On The Street interviews…. get creative. It’s fun to use
official site right here and the “old” manual can be found here
basica stats:
- Camera
(360˚ Dual Lens)Video – up to 4096×2048 (24fps)
Still – up to 15M (5472×2736)
- Recording timeUp to 130 mins
(2560 x 1280 / 30fps)
- OS ConvergenceMobile – Android, iOS
PC – Windows, Mac
- MemoryMicroSD card (Up to 256GB)


